

Envelope Design Guide & Die-Lines.
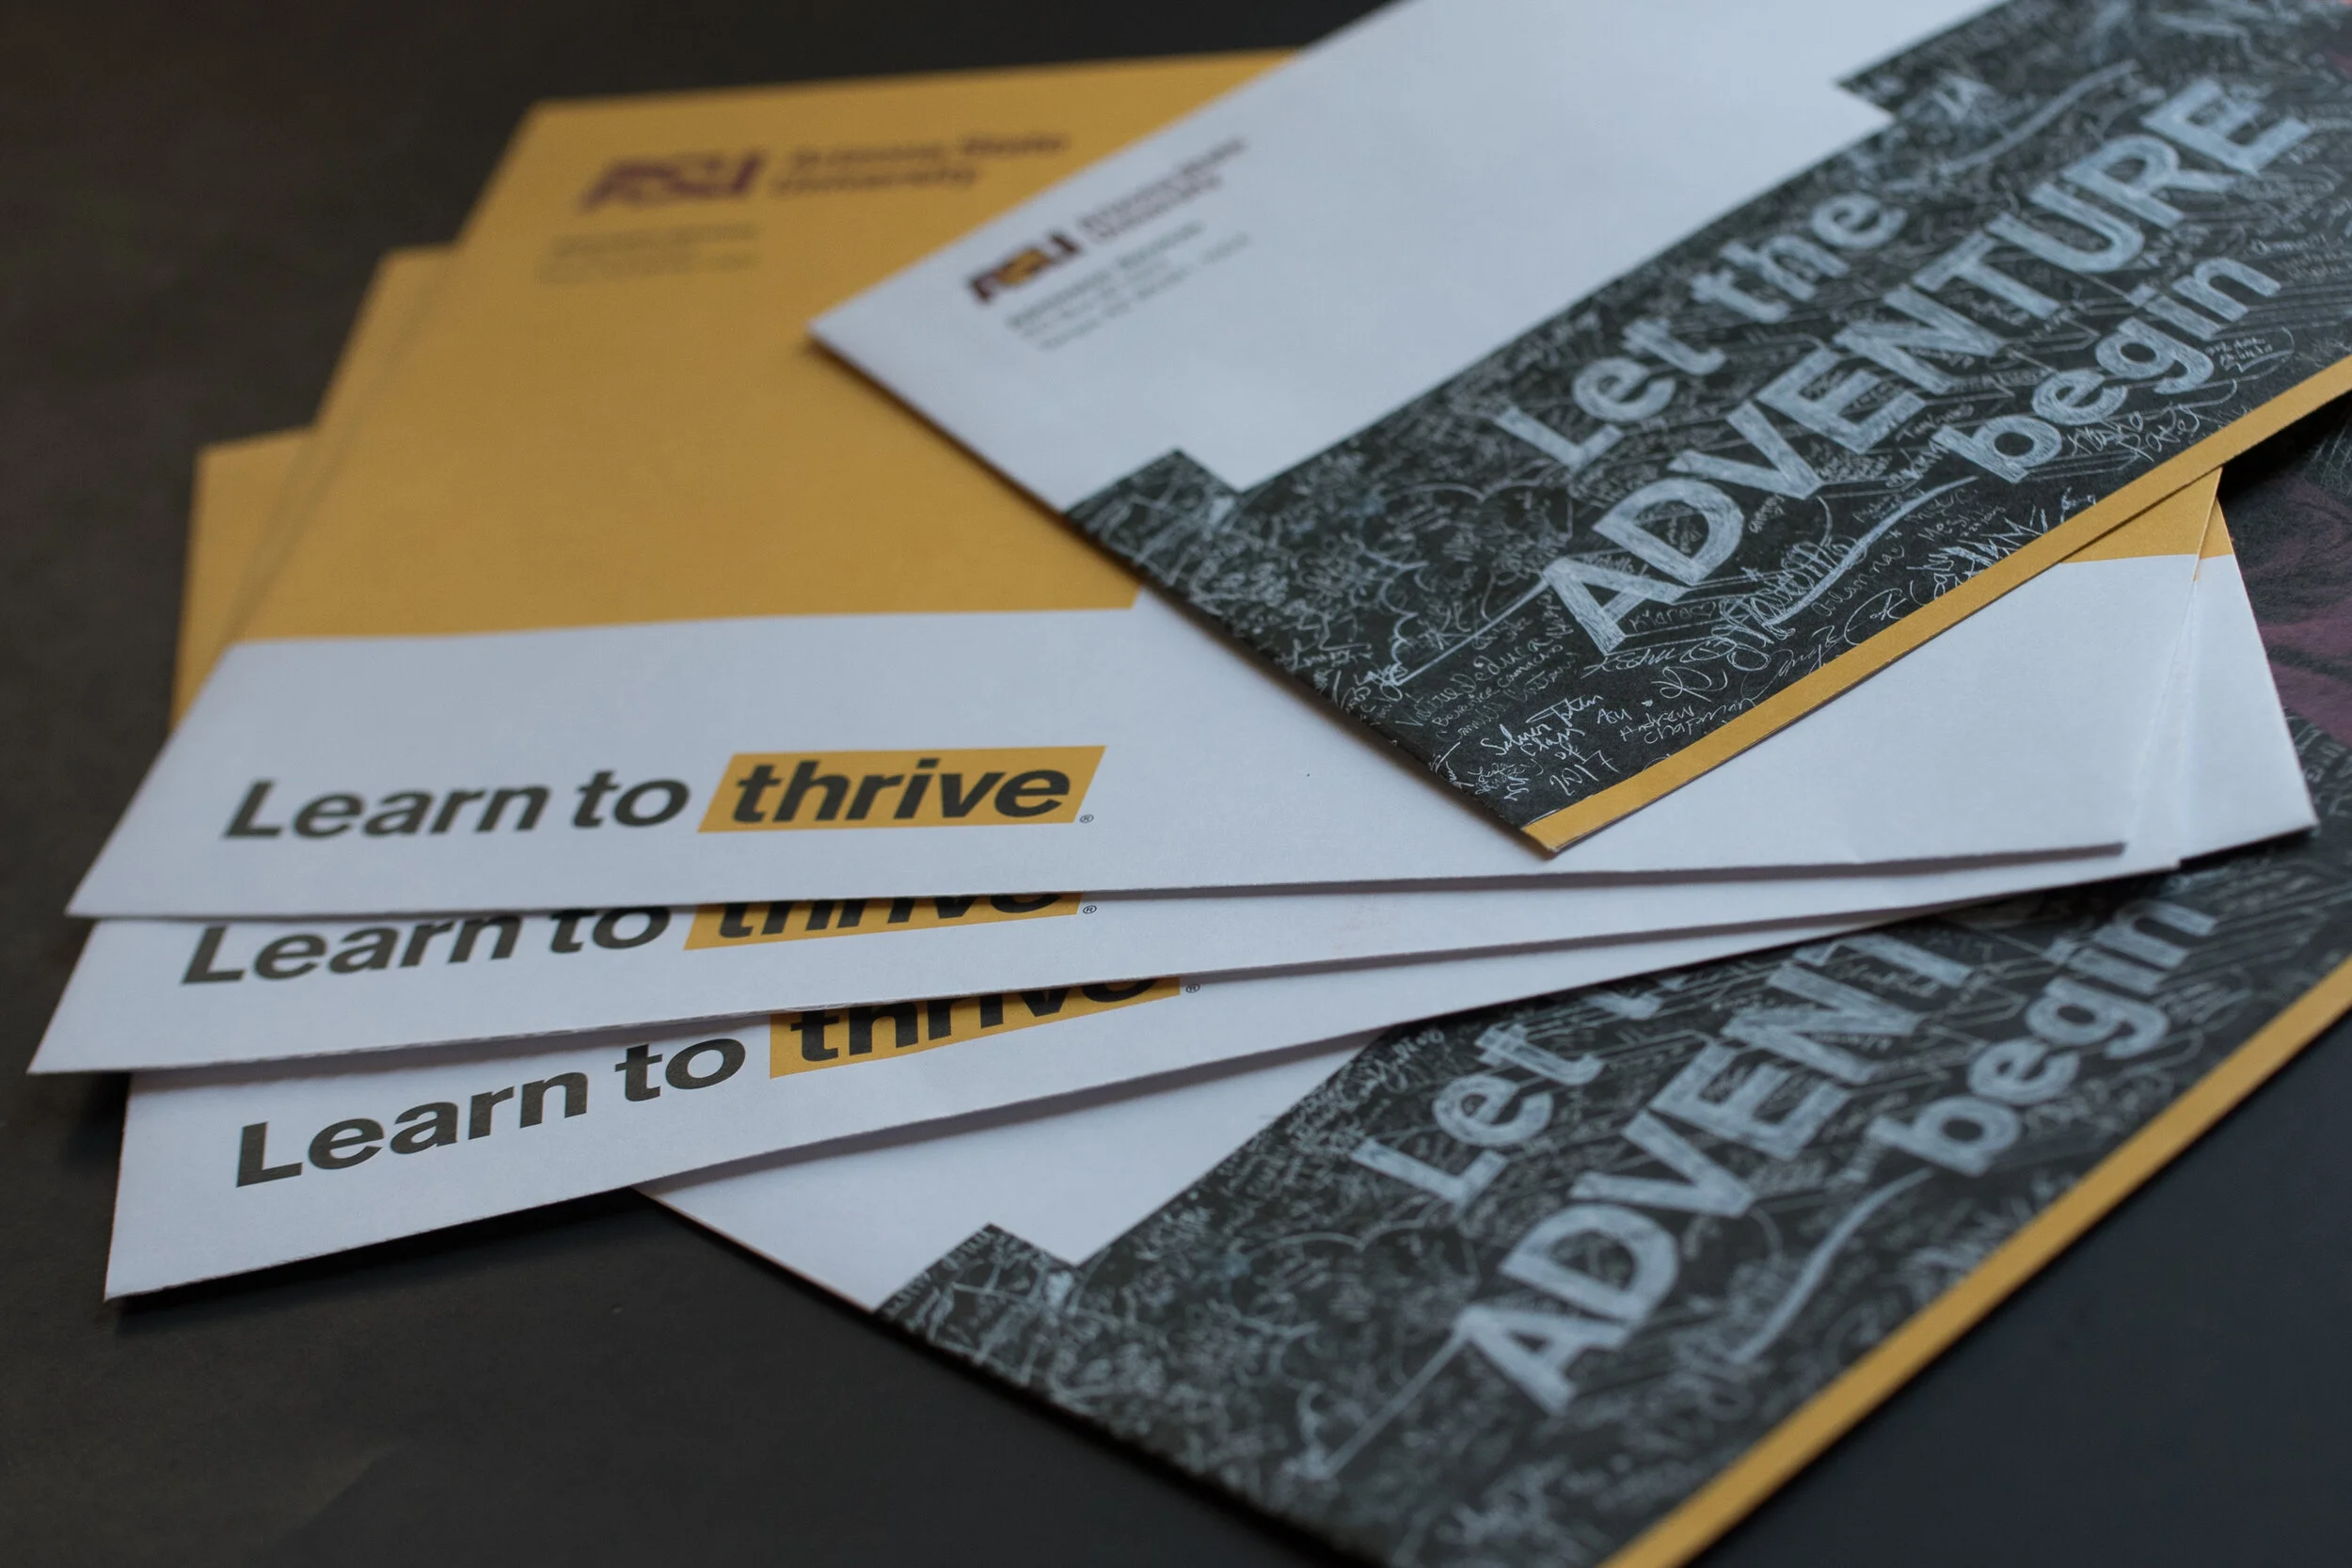
For many designers, envelope design can feel limited with little opportunity to exercise creativity. We’re here to dispel that myth and show you stunning envelope examples while also providing you with tips on design and production of your envelopes.
Address the Address Area.
The USPS has recommended placement standards for the address, return address, and postage indicia on all envelope sizes. In addition, they have ink coverage requirements that recommend no more than 7% ink coverage in the Optical Character Reader (OCR) read area to allow the address to be read by machine. Not following these suggested guidelines may result in your mail piece being non-machinable and incurring extra postage fees. You can find these USPS standards for all envelope sizes on the USPS website.

Pro Tips for designing a standard #10 envelope:
For a standard #10 envelope, the return address should be ¼” from the top and left side of the envelope.
Leave a 1” x 1” space in the upper right-hand corner of the front side design for the postage or indicia.
The top of the mailing address cannot be placed higher than 2 ¾” from the bottom of the envelope.
There should be no more than 7% ink coverage in the addressing and barcode areas.
The Intelligent Mail Barcode (IBM) is approximately 3”x 5/8” and can be included in the address block \ if there is at least 3 ½” of horizontal space available. (Ask your Courier Graphics rep for more information this.
If the barcode is not included in the address block, it will be placed by the USPS across the bottom of the envelope, toward the lower right corner, utilizing a space approximately ¾” x 4 7/8”. Keep important design elements outside of this space as it may be covered by the barcode.

To Add Bleeds or Not to Add Bleeds.
Don’t make the assumption that when you are designing an envelope that you cannot have any bleeds. You can! But you need to follow a few best practices for your design to accommodate the die-cutting and converting of the envelope.
Pro Tip: Work with an approved template for your envelope and build a ¼” bleed into your design wherever your envelope will have print or ink coverage up to the very edge when finished and converted.

Addressing vs Labeling? It Can Be a Complete Knock Out.
You absolutely must know how the envelope will be labeled for mailing. Will the address be printed directly onto the envelope each time? Will you affix an address label? As you create the design, you will either (A) create a safe address area that follows USPS placement guidelines for addressing directly onto the envelope (knocked out or screened back from the design) or (B) design around the possibility of a label being affixed. Unless discussed in advance, you’ll want to be sure that the recommended address area will readable by the automated machines when going through USPS system.

Coordinate With Content.
As we all know, an envelope is never a standalone piece. And a typical collateral package has three styles or sizes of envelopes. Most common are a #10, a catalog or booklet envelope, and an envelope for a note or thank you card. The thought of designing those might make some designers yawn, but we challenge you to put your creative superpowers to work and design something exciting and beautiful that will make your brand, your sales collateral, or your direct mail really stand out.
Need inspiration? Check out Pinterest or Instagram or other gallery sites. Then come to Courier Graphics for templates, dielines, and expertise. As a team, we’ll make sure your design and our production score a “10” on the WOW-meter!
Download 100% Free Die-Lines
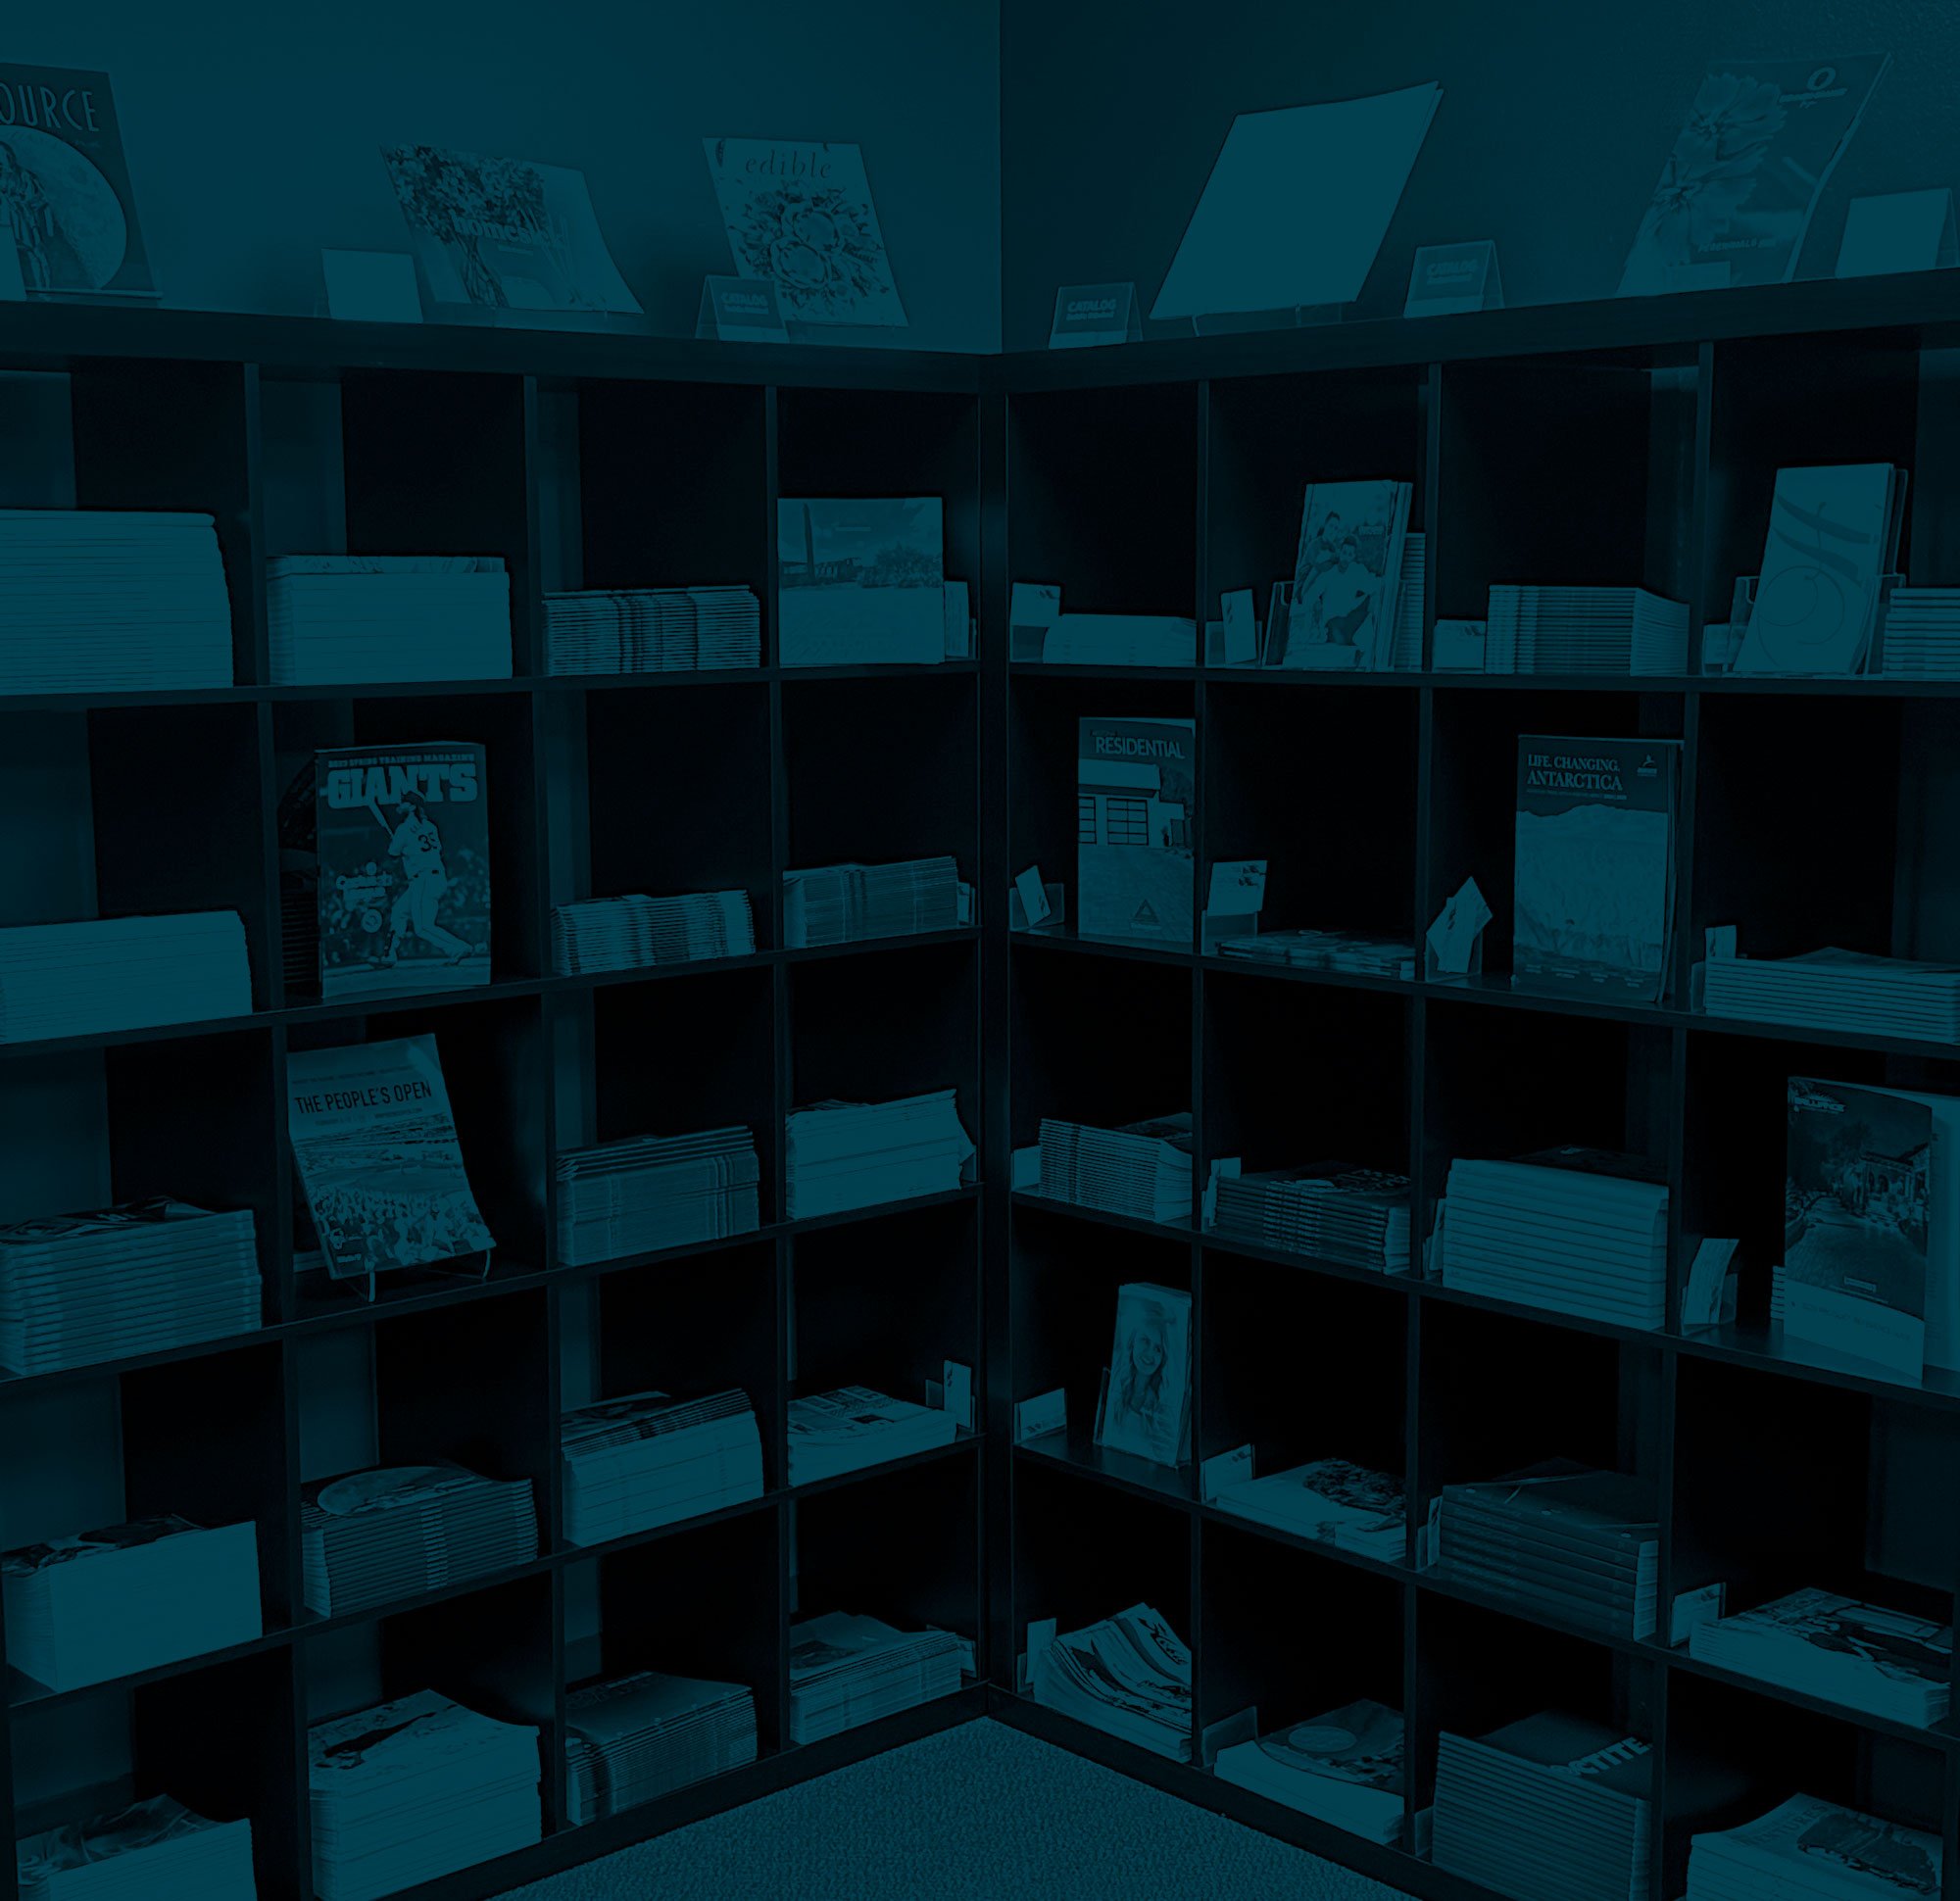
Here are some samples of envelope options and sizes available.

Elevate Your Mailing Experience with Stylish Envelopes and Expert Design Tips.
Envelopes, the unsung heroes of mail, play a crucial role in delivering messages with style. Often underestimated, they set the tone for the contents within. A well-crafted envelope enhances any printed material. From sizes to templates, we've got you covered. Need assistance? Reach out at 602-437-9700 or drop by our Phoenix location. For design inspiration, check out our tips here. Let's elevate your mailing experience together!

Pointed Flap
Elegant, traditional, and more formal. Used primarily on Baronial, greeting cards and specialty envelopes. Not recommended for laser or inserting equipment applications.
4 Baronial – 3 5/8 x 5 1/8
5 Baronial – 4 1/8 x 5 5/8
Lee 5 1/4 x 7 1/4

Commercial
All about business. The shorter flap with the rounded corners makes for shorter production work in preparing envelope while maintaining its seal with larger bulky items.
#6 1/4 – 3 1/2 x 6
#6 3/4 – 3 5/8 x 6 1/2
#7 3/4 – 3 7/8 x 7 1/2
#8 5/8 – 3 5/8 x 8 5/8
#9 – 3 7/8 x 8 7/8
#10 – 4 1/8 x 9 1/2
#11 – 4 1/2 x 10 3/8

Catalog/Mail Point
An old veteran of the post box, it was originally designed to house things like catalogs and stacks of paper. The Wallet Flap is is quickly becoming a replacement for the Mail Point Flap.
#1 – 6 x 9
#1 3/4 – 6 1/2 x 9 1/2
#9 3/4 – 8 3/4 x 11 1/4
#10 1/2 – 9 x 12
#12 1/2 – 9 1/2 x 12 1/2
#13 1/2 – 10 x 13
#14 1/2 – 11 1/2 x 14 1/2

Square Flap
Modern contemporary appearance. Square flap lends itself to being beautiful canvas for a myriad of stunning designs.
A2 – 4 3/8 x 5 3/4
A6 – 4 3/4 x 6 1/2
A7 – 5 1/4 x 7 1/4
A8 – 5 1/2 x 8 1/8
A10 – 6 x 9 1/2

Wallet Flap/Booklet
Similar to the square flap but with rounded corners. Flap style ensures secure closure of bulky contents and is functional for automatic inserting and mailing.
#6 1/2 – 6 x 9
#6 3/4 – 6 1/2 x 9 1/2
#7 1/2 – 7 1/2 x 10 1/2
#9 1/2 – 9 x 12
#10 – 9 1/2 x 12 5/8
#13 – 10 x 13